“Dressing well is a form of good manners”. However, for looking good you have to wear an iron dress with creases free. A shirt is one of the main dress parts which other people get a look at first so, a wrinkle-free shirt is a treat for you. So, we share a detailed guide here on how to iron a shirt perfectly.
We are here to guide you in detail that how to iron a shirt? When you know, how and which step to follow, ironing becomes an easy task for you instead of a headache. Moreover, a good iron is a key to good ironing and a one-time investment gives you comfort for many years. So wait for what? Go ahead and check the top-rated steam ironsand best steam generator irons.
How to Iron a Dress Shirt like a Pro: Easy Step-by-Step Guide
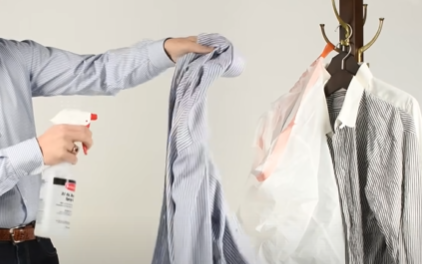
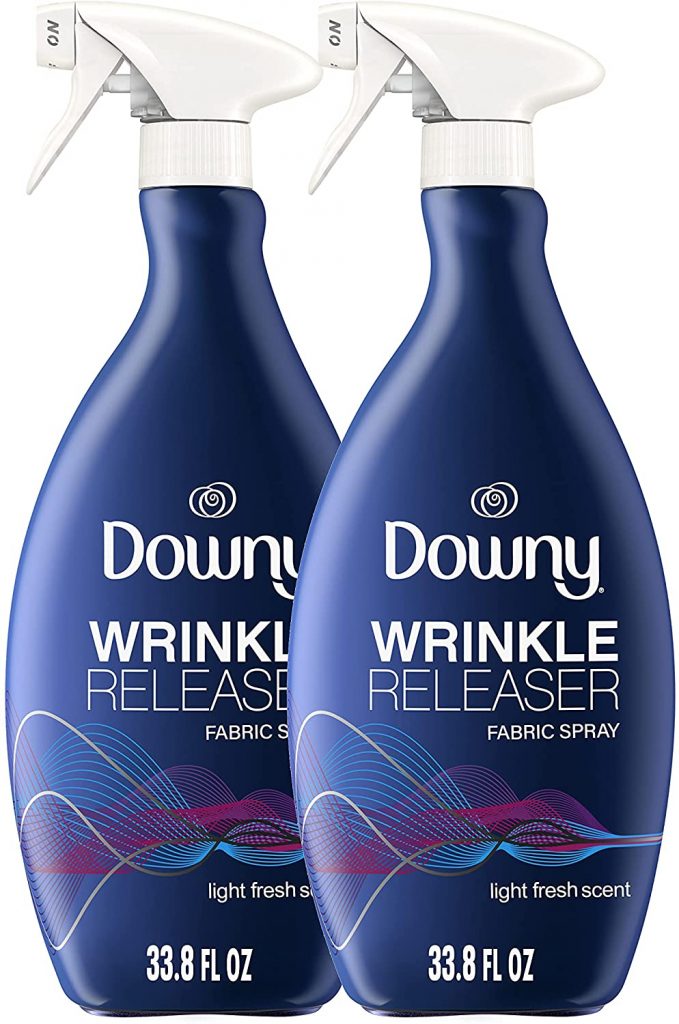
First, get ready the things you need to iron a shirt. An ironing board, sleeves iron board, a spray bottle or wrinkle release spray, and a good clothes iron.
It is better to start with the freshly taken out of laundry shirts. Shake it well and hang it on a hanger. But if you take out the shirt from the wardrobe. Spray it well with the waterspray bottle or wrinkles release spray and then start pressing, for getting the best results.
Tip: Mix 1 table Spoon of starch in two cups of water and fill the spray bottle. Spray your shirt with that you will get amazing results that are straight, smooth, and crease-free after pressing.
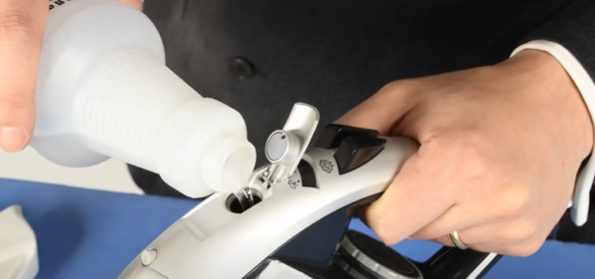
Step 2: Fill your iron
Fill your iron with the distilled water or with the 50/50 ratio of distilled and tapped water. So, that your shirt does not get any grayish-white substance spitting when iron produces the steam.
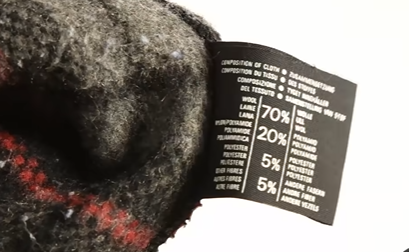
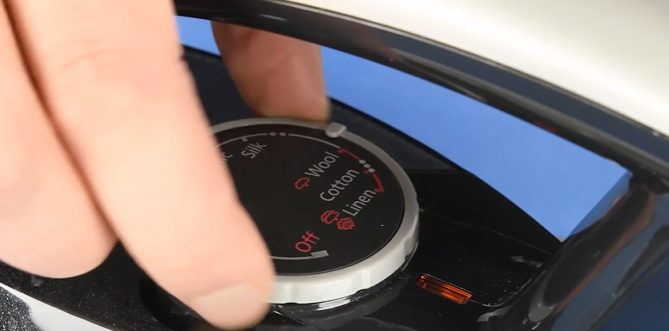
Step 3: Check the label on the shirt and heat setting
Check the label attached to the shirt what is the material of the shirt which you are going to press. Whether cotton, linen, polyester, nylon or mixed. Set the heat and fabric selector from the dial of the iron. So, you get the proper heat according to the type of fabric, not too much that your shirt gets burnt.
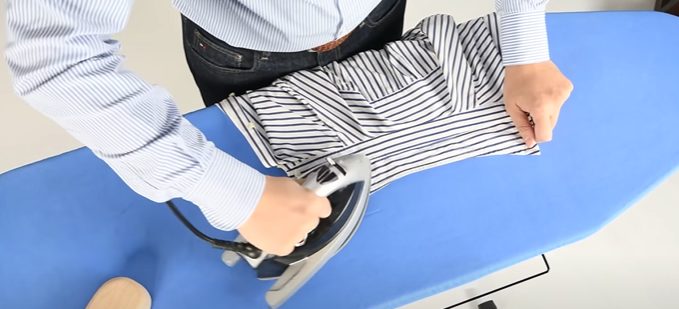
Step 4: Set a shirt on the board and start pressing
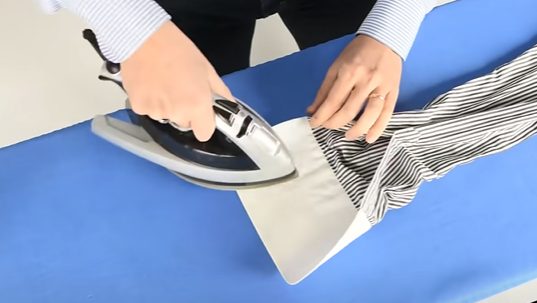
Firstly, set the shirt on the ironing board, starting with the cuffs from inside and then outside so that you do not get any wrinkles on the cuffs.
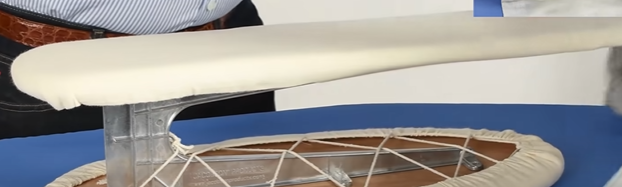
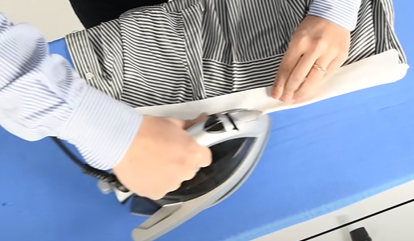
Sleeves ironing board
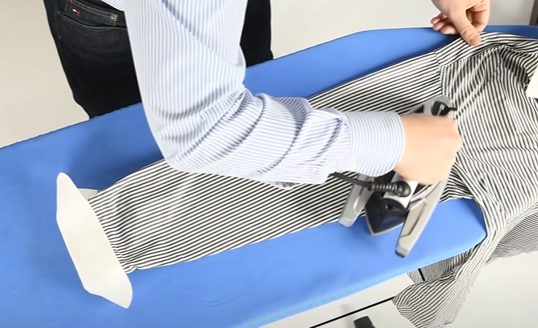
Secondly, after doing the cuff go up to the sleeves, start with the armpits. If you are ironing on the regular ironing board then set the arms on the ironing board straight. Because you have to press the double-layer upper and lower otherwise you get wrinkles on the arms. Another option you have is to use thesleeves ironing board, which is help to iron wrinkle-free sleeves from both sides.
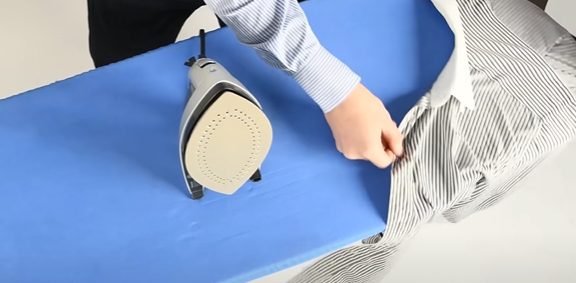
Thirdly, flip up your collar and you take out any collar stays, if they are sewing in, just leave them in there. Then iron from one side to the middle and then go to the other side and iron again to the middle. Evade ironing from the inside out or in one way because it will create wrinkles on the collar. Because the collar has so many layers. Once you are done with the inside of the collar, flip it open so you iron the outside of the collar.
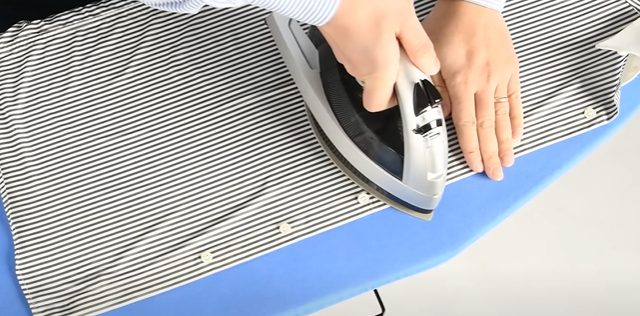
After pressing the collar now set the yoke of the shirt on the front of the ironing board and iron.
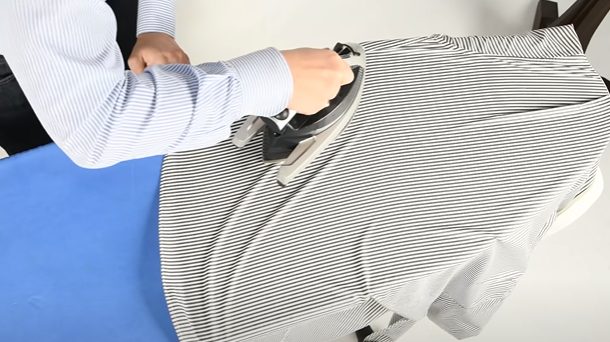
Lastly, iron the body of the shirt, start from the front side and the buttons are and then the back of the body by setting the shirt on the front of the ironing board as shown in the picture. Go in one motion straight so, you get a wrinkle-free shirt.
Finally, the shirt is ready, pull it from the board and set it on a hanger, button the top and third buttons. Now you can just hang it in your closet and your shirt is ready to wear when you need it.