How to Steam Clean Your Car at Home?
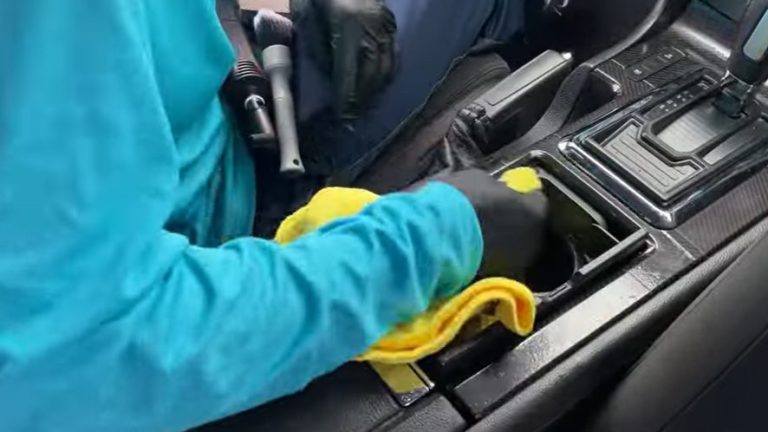
Innovative steam cleaners have changed the game when it comes to car washing. Steam cleaners are versatile tools that can effectively clean various parts of a car’s interior, such as leather or fabric seats, door jambs, cup holders, dashboards, headliners, …